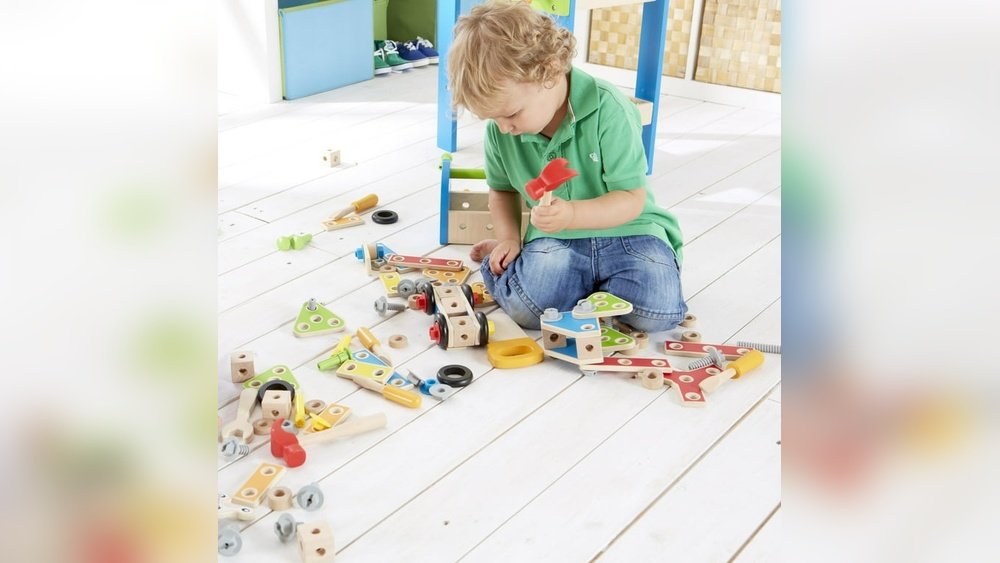
Wooden toys are a classic favourite, and babies love them. They are safe, they are simple and they can last for years. How to Fix Baby Wood Toys can chip, break or lose their shine over time. Parents are worried about fixing these toys especially since babies chew, throw and drag toys everywhere. The good news: Most repairs are safe and easy when you use the right materials and steps. This guide explains how to repair baby wood toys, keep them safe and make them look like new again. From splinters, loose parts and faded paint to broken pieces, you’ll find practical solutions and expert advice below.
Understanding Common Issues With Baby Wood Toys
Wood toys have a lot of challenges, especially in the hands of babies. The most common problems are:
- Splinters and rough edges: Wood can splinter over time especially with heavy use or exposure to moisture.
- Loose or broken parts. Wheels, pegs or handles can come loose or break.
- Chipped paint or finish: Paint can fade or chip and make toys look old and sometimes unsafe.
- Cracks and Dents Toys falling or being banged can cause cracks, dents, or even broken pieces.
- Sticky residue or stains: food, saliva or sticky finger marks and stains.
A Consumer Product Safety Commission survey found that nearly 34% of parents say they have had minor damage to wooden toys in the first year of use. Most damage is minor and easy to repair at home, but you need to know how to do it right to keep yourself safe.
Safety First: Do Not Do When Repairing
Before fixing any baby wood toys, safety is always the priority. Babies put everything in their mouths so any repair needs to be non-toxic and free of dangerous techniques.
- Do not use superglue or any strong adhesives that are not child-safe.
- Avoid paints or finishes that contain lead, solvents or toxic chemicals.
- Avoid sandpaper that creates a fine dust, unless you’re prepared to clean the toy thoroughly afterwards.
- Do not use tape or staples as a quick fix, as they can be a choking hazard.
Always check the toy’s condition before and after repairing. If the piece is too damaged, consider replacing the toy rather than fixing it.

Essential Tools and Materials to Fix Wood Toys
The right tools make repairs easy and safe. Here’s a quick comparison of common materials:
| Tool/Material | job | Safety of the Baby |
|---|---|---|
| Fine-grit sandpaper (220+) | Sanding rough edges | Safe if residue is cleaned |
| Wood glue (non-toxic) | Repair cracks/broken pieces | Safe when dried. |
| Non-Toxic Paint/Sealant | Finishing touches | Safe Drying |
| Soft cloths | Cleaning and polishing. | Always secure |
| little hammer | Re-fixing pegs/wheels | Watch out for safety |
Look for products labelled “ASTM D4236” or “EN71”, which means they’ve been tested for toy safety.
How To: Repair Splinters and Rough Edges Step By Step
Wood toys tend to have splinters. Here’s how to fix them, safely:
- Check the toy: Examine all surfaces for rough spots or splinters.
- Sand carefully: Use a fine grit sandpaper (220+) and rub the splintered area until smooth. Always sand in the direction of the wood grain.
- Dusting: Use a damp cloth to wipe the toy clean of dust. let it dry thoroughly.
- Seal the wood. If the toy is painted or varnished, touch up with non-toxic finish.
Tip: Sanding is best done outdoors or in a well-ventilated area. Babies are sensitive to dust so clean well before returning the toy.
Repairing Loose Or Broken Parts
Many wooden toys have wheels, pegs or small parts that may come loose. Here’s how to lock them down:
- Remove loose parts: Before you begin, remove any pieces that can be removed.
- Apply child-safe wood glue. Apply a thin layer of wood glue to the joint or broken spot.
- Press and hold: Join the pieces and hold them together for 30–60 seconds. Gently clamp if possible for stronger bond.
- Let it cure: Follow the directions on the glue. Most wood glues take 12-24 hours to fully set.
- Test the toy: Check the repaired part by moving or shaking it. It should feel stable and secure.
Many parents don’t think about the glue cure time. Allowing the toy to dry for 24 hours or more will make the repair more durable and safer for your baby.
Touching Up Chipped Paint And A Faded Finish
Toys with chipped paint or worn finishes look bad and may show the wood underneath. To recover them, here’s how:
- Clean the area: Wipe the toy with a damp cloth and let it air dry.
- Lightly sand. If the chipped area is rough, smooth it with fine-grit sandpaper.
- Touch-up paint: Use a non-toxic paint that matches the original colour. Apply thin coats and allow each to dry before applying another.
- Seal the surface When the paint is dry, apply a non-toxic sealer to protect the finish.
A non-obvious insight: Always use paint and sealers made for children’s toys. A lot of the chemicals in everyday household paints are not safe for babies. Water based and non-toxic paints are marked as toy safe.
Fixing Cracks and Dents in Wooden Toys
Cracks and Dents More serious, but often repairable at home. Here’s the way:
- Evaluate the damage: Minor cracks can be repaired. Deep cracks or broken pieces may need to be replaced.
- Fill tiny cracks: Use child-safe wood filler or glue. Using a toothpick or small brush, apply.
- Sand after drying: When the filler is dry, lightly sand for a smooth finish.
- Touch up paint: If necessary, touch up paint the repaired area.
For dents, you might be able to raise the wood with a damp cloth and a quick application of an iron (on low heat). The steam will swell the wood to its original size.
Removing Sticky Residue and Stains
Babies leave sticky messes on toys often. It is easy to clean if you follow these steps:
- Wipe with warm water Most stains can be cleaned with a soft cloth and warm water.
- Add mild soap: Combine a little mild soap (such as baby shampoo) with water for tough stains.
- Scrub gently. Do not soak toy. Fast dry after scrub stains .
- Sanitise safely: Mix vinegar and water at 1:4 ratio to sanitise. Avoid strong chemicals.
No bleach or strong cleaners. They can damage wood and produce toxic byproducts.

When to Replace or Repair
Some toys are too broken to be repaired safely. Here is a quick guide:
| Damage Type | Addressable? | Recommended Action |
|---|---|---|
| Deep fissures | No. | Replace |
| Choking hazard – loose small parts | No. | Replace |
| Splinters on the surface | Yeass | Right |
| Paint flakes | Yeass | Right |
| Structural change | varies | Evaluate 1. |
If the toy is badly cracked or has parts that could break off, it’s better to buy a new one.
Tips For Avoiding Damage In Future
It’s nice to fix baby wooden toys, but it’s better to prevent them from being damaged. Here’s how to maintain toys in good shape:
- Keep toys in a dry place. Wood swells and cracks when it is wet.
- Clean toys regularly to get rid of saliva, food and dirt.
- Do not leave toys outdoors or in direct sunlight for long periods of time.
- Check toys every month for loose parts or splinters.
- Rotate toys so that no toy is overused.
Most wood toys will actually last longer, surprisingly, if you put a thin layer of natural beeswax polish on them every few months. This way no splinters are created and the wood does not dry out.
Fixes for real-life toys
Some common examples of repairs include:
- Wooden blocks: Edges sanded rough, sealed with beeswax.
- Pull Along Animals: Reattaching wheels with child safe glue.
- Filled in cracks, repainted faded images. Puzzle pieces.
One parent said, “I used beeswax polish on our old wood blocks and they felt brand new and our baby stopped trying to chew on rough corners.
Selecting Safe Materials: What to Look For
Parents often have a hard time finding safe products for repairs. This is how the popular ones match up:
| Materials | Is it safe for infants? | Where to Find, |
|---|---|---|
| Wood glue (non toxic) | Yeass | Craft stores, online |
| Paint, nontoxic | Yeass | Speciality toy stores, on the internet |
| Beeswax polish | Yeass | Health food stores |
| Ordinary glue | No. | Hardware shops |
| Paint for Homes | No. | Paint booths |
For more information about safe toy materials, you can check Consumer Product Safety Commission.
Questions and Answers
### How to tell if a repaired wooden toy is safe for your baby?
Look for no loose parts; glue or paint is completely dry; smooth surfaces. If you used child safe materials and followed drying times the toy should be safe. If in doubt, hold off and give it another day before giving it to your baby.
Can I Use Normal Glue or Paint for Repairs?
No. Many regular glues and paints have chemicals that aren’t safe for babies who put toys in their mouths. Always use materials that are marked “non-toxic” and “child-safe.”
How often should I check wooden toys for damage?
Check toys 2-4 weeks after purchase. Inspect for splinters, cracks and loose parts. “Finding it early prevents accidents.
How Do You Clean Wood Toys Once Fixed?
Wipe with a damp cloth and mild soap. Don’t soak toy. Allow to dry quickly and, if desired, polish with beeswax for added protection.
Are home repairs as good as factory repairs?
Most home repairs are more than sufficient for normal work, especially if you follow glue curing times and use proper materials. However, factory repairs are performed with professional tools and very damaged toys may need replacement.
Repairing baby wood toys is easier than you think and it’s rewarding. By using safe materials and taking care when you step on them, you can make toys last longer and keep your baby safe. Regular inspections and gentle cleaning avoid most problems. If you’re ever unsure about a repair, it’s fine to replace the toy – your child’s safety always comes first.
Pingback: Best Teething Toys for Babies 3-12 Months: Parent-Tested Reviews
Pingback: Why Do Babies Cry in Their Sleep? Causes & When to Worry- 2026